
How to Resize Printables for the Classic Happy Planner
Hi guys! I have a fun post to share today. I’m always talking about how I love the flexibility of the Happy Planner and how I can add things to it. I feel like it is a big misconception that you need to have printables sized exactly for the Happy Planner. I’m going to show you how to resize printables for the Classic Happy Planner so you can take any letter size printable and make it Happy Planner size!
I also have TWO video tutorials over on my Youtube channel, which you can see below.
This post contains affiliate links. See our full disclosure policy, here.

For the first video, I’ve shared how you can take my HALF LETTER size printables and shrink those down to fit inside a MINI Happy Planner.
Then, I have the video that accompanies this tutorial on how to resize letter size printables for the classic Happy Planner.
Let’s get into the tutorial.
How to resize printables for the classic Happy Planner
Okay, so you have a regular letter size printable, and you want to use it for your Happy Planner! That is no problem.
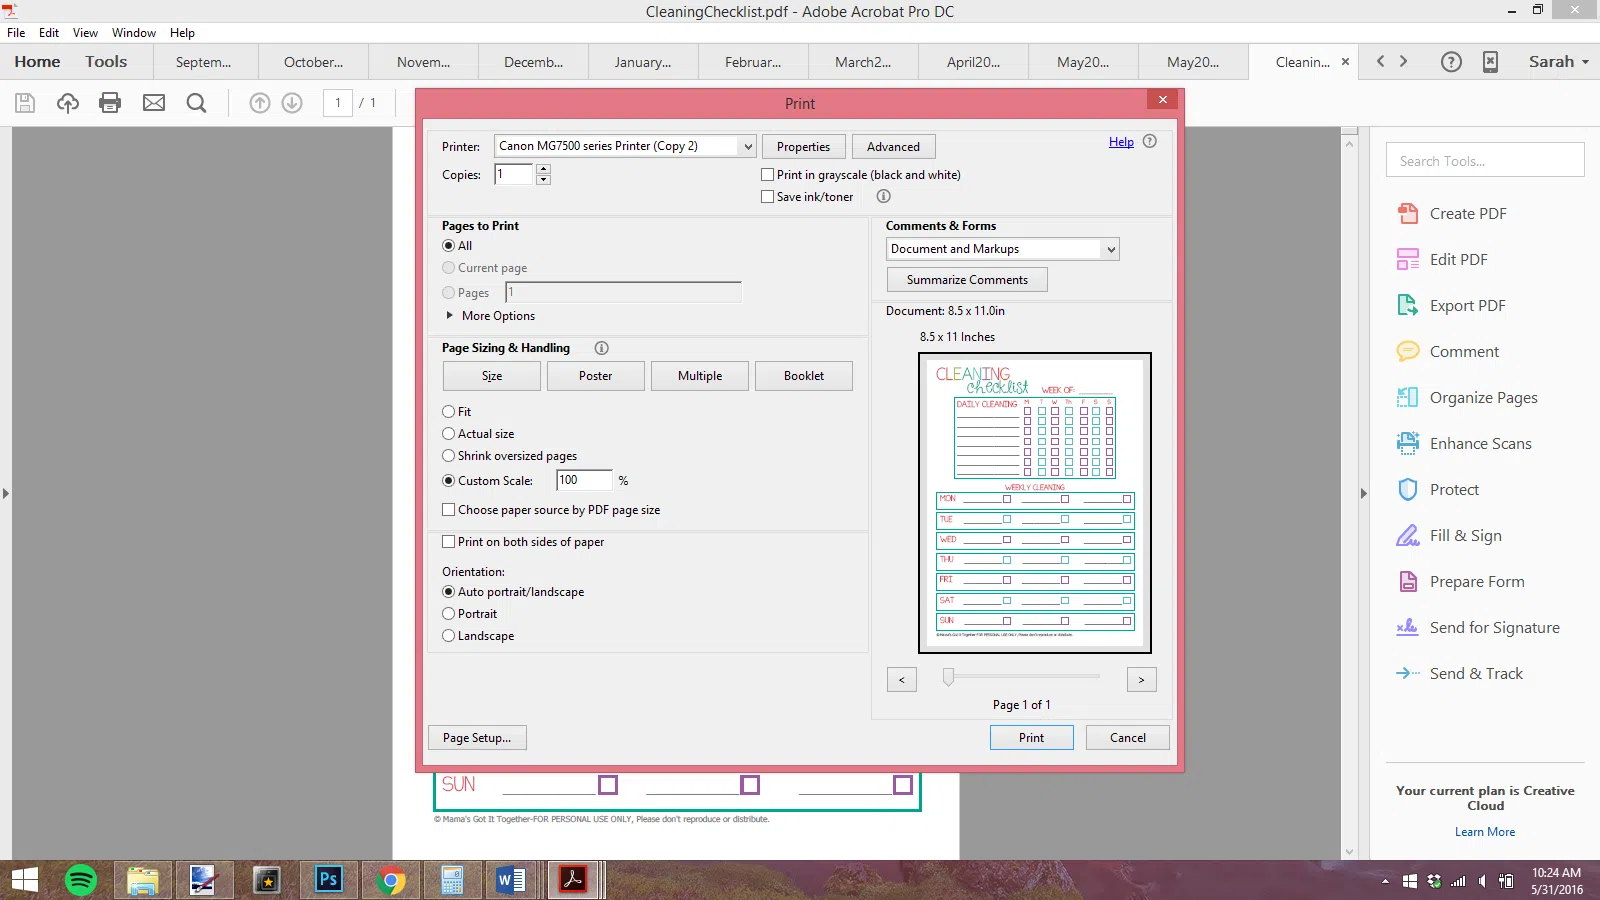
The magic number is 84. 84%. That is what you need to scale the printable to in order to make it fit. You’ll need to get a little creative with trimming, but once your printable is scaled down to 84% it will fit perfectly in your Happy Planner.
What are the dimensions of Happy Planner pages?
There are a few different sizes of Happy Planner, and I have a comparison of the main sizes of all Happy Planners, here, but for today we’re just resizing these to go into the Classic Happy Planner, whose pages are 7 x 9.25 inches.
Printer Settings for Resizing
Here are the steps to resizing on my printer, your print screen may look a little different than mine, but as long as you can resize or scale the page you are good to go.
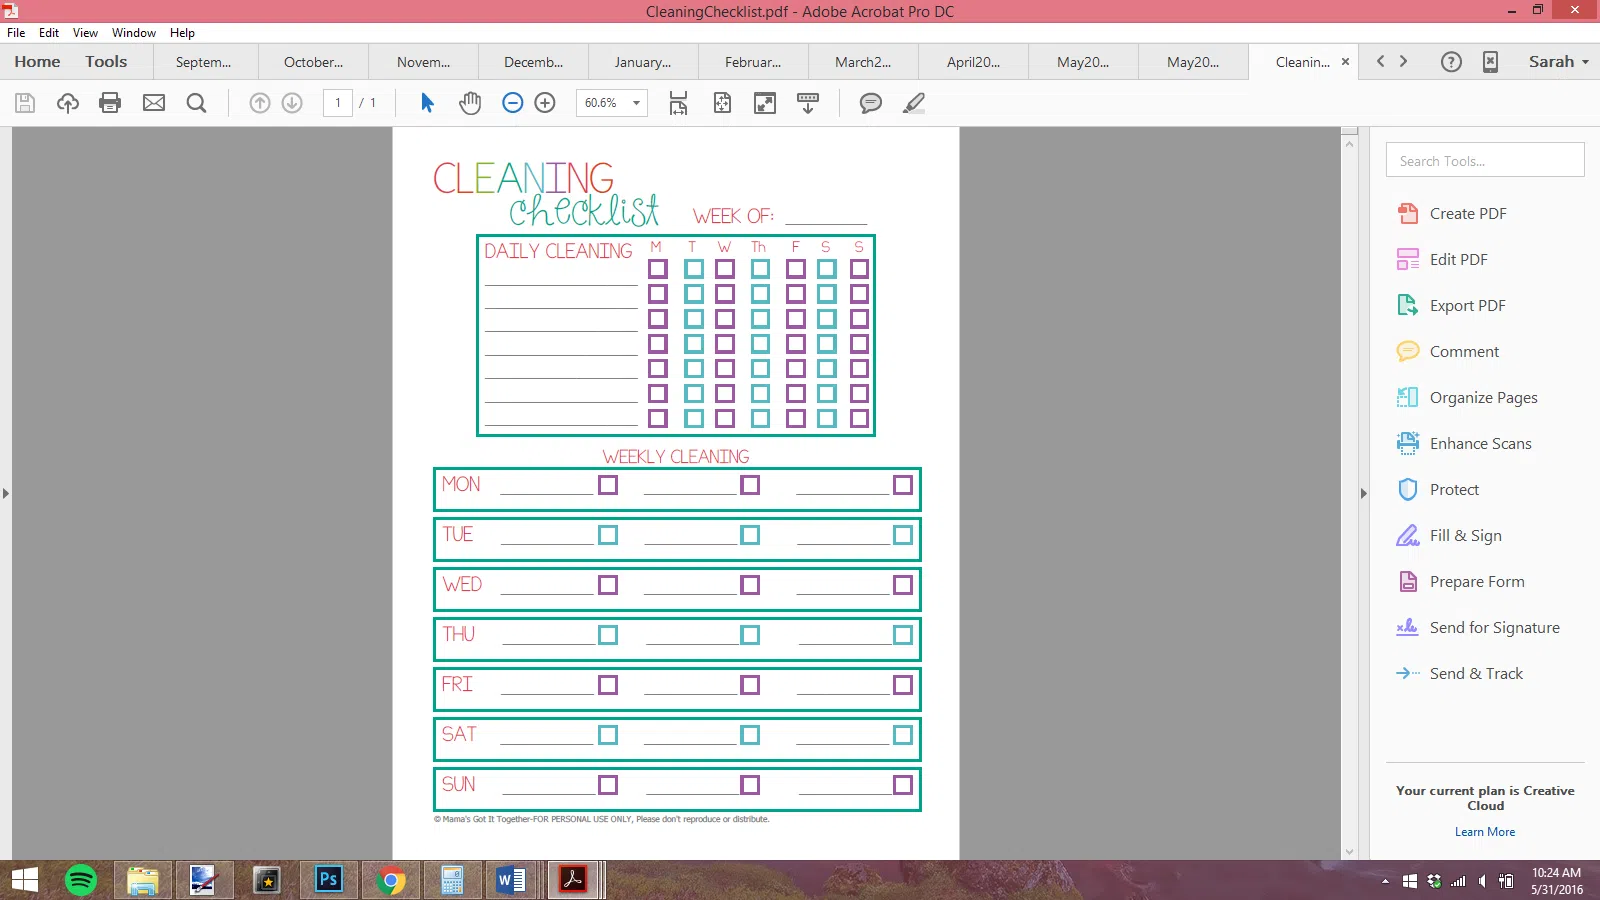
First, you’ll open up your PDF file in Adobe reader, or whatever program you have defaulted to open them.
Then, select “print” to open up the print window.

Now, under the size tab, set the “custom scale” to 84%. Then, print your page.
This process works because the ratio of the length and width for the Happy Planner is similar to that of traditional letter size, and there isn’t a huge difference in the sizes. That’s why this won’t work for resizing something that is letter size all the way down to fit a mini Happy Planner or other smaller size planners. For best results you would need to start with a smaller size file.
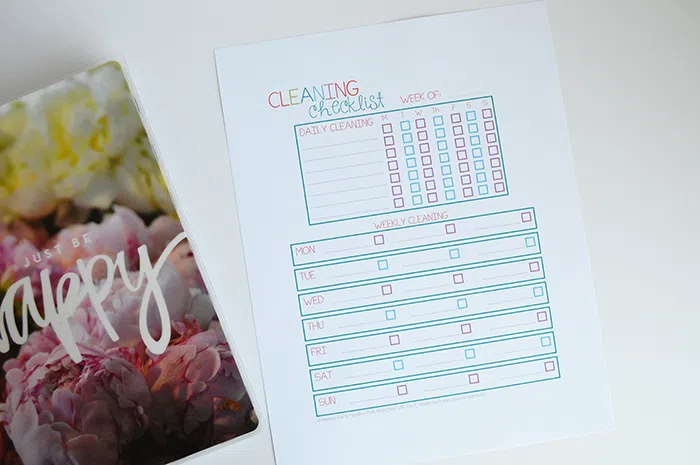
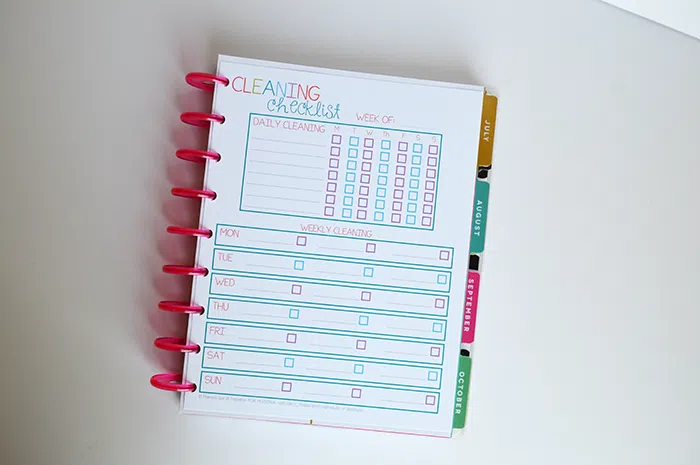
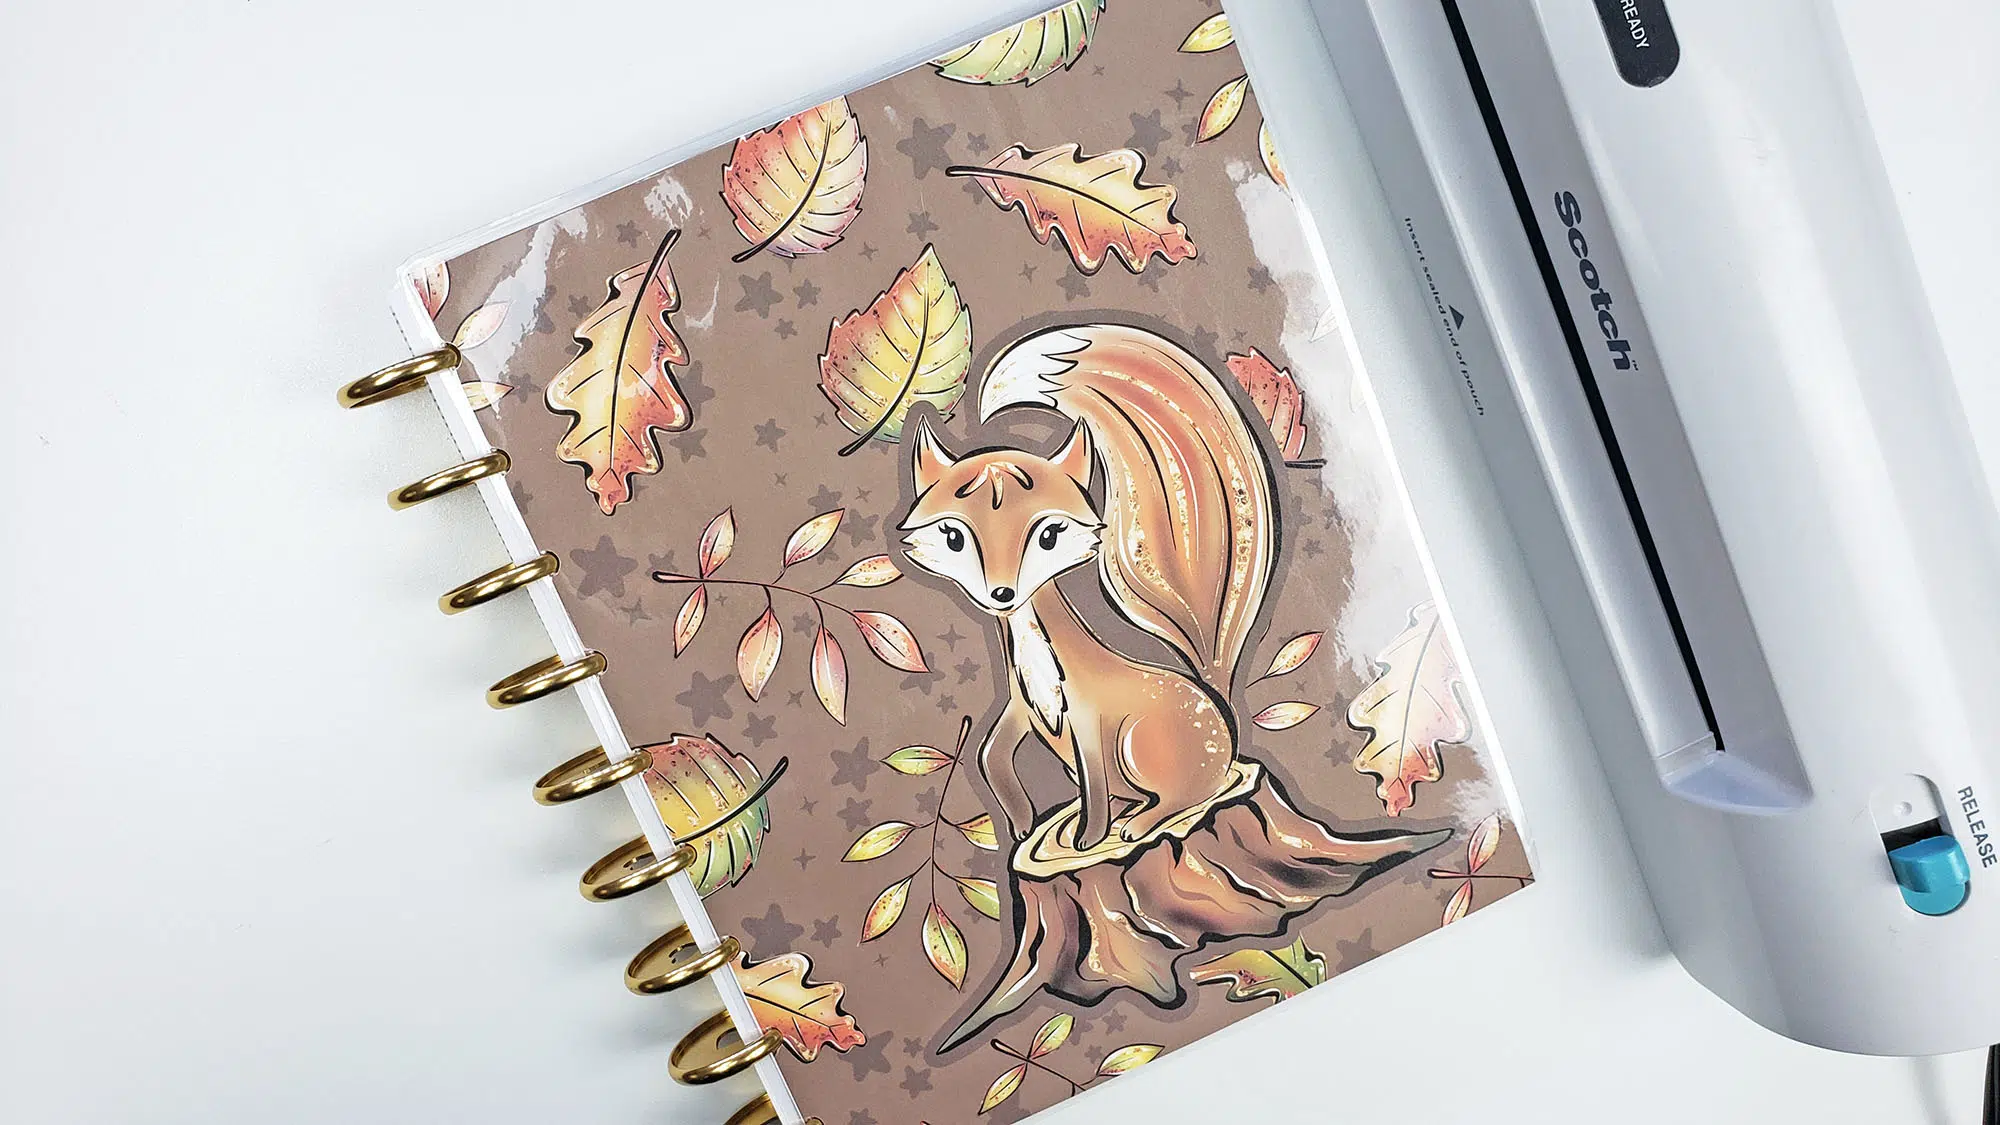
Once you’ve printed your printable, you are ready to trim it down to that classic size 7 x 9.25, just be sure that you eyeball it and get the margins how you want them, because there will be some white space around the outside of your printable. I recommend this style of paper trimmer if you are just trimming a page or two at a time, it is the easiest way to precisely trim your printables. If you don’t like the extra white space on your printables that happens when resizing for Happy Planner, you can always dress them up with some washi tape!
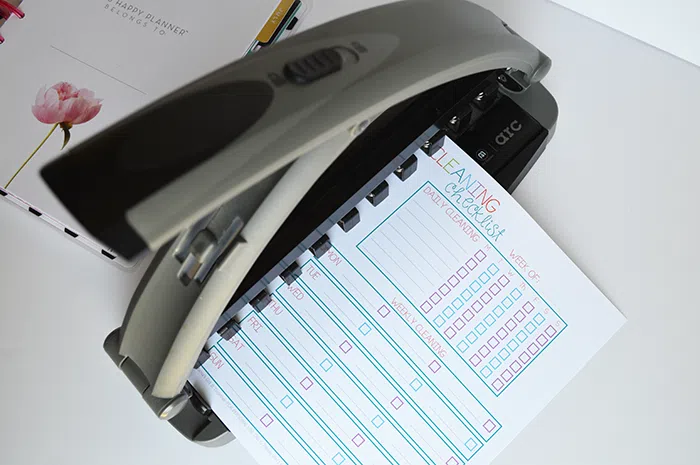
Finally, punch the printable- I use this arc punch, or you can use the Happy Planner punch.. and voila! If you need some printables to try this on, I have tons of free printables here on the blog, you can use any of my letter size ones to practice.
Also, if you are looking for great paper to print your planner inserts on, I share all of my recommendations for the best paper for planner inserts, too!
Sign up for my email newsletter below to get access to our library of free planner printables. They’re for personal use only but you can print them as many times as you need!
You can use regular paper for your printables, but I also have a guide to the best paper for printing planner inserts and printable planner pages. Then, be sure and check out this tutorial on how to make your own Happy Planner covers. You can purchase graphics and create your own pretty covers that are totally custom for you.
And there you have it- super simple and you can add ANY printable to your planner! If you are interested I have a whole post on how I’ve organized my Happy Planner system. I just love discbound planners and using the Happy Planner classic size to create my own planner setup. I typically combine a few different Happy Planners together to create one big book that includes my weekly planner, plus other sections like budgeting, health, and more.
I hope you liked this tutorial for resizing planner printables for the classic size Happy Planner. You might also like these other fun planning posts-
How to Add Sections to Your Happy Planner
Happy Planner Disc Sizes Comparison
Free Printable Budgeting Worksheets
How to Time Block In Your Planner
Free Printable Dot Grid, Lined, and Grid Pages for Notes & Journaling
Are you interested in decorative and functional stickers for your planner? Be sure and stop by our shop for both printable and digital planner stickers!
Just stopping by to let you know that you are my feature pick at Marry Monday this week! I can’t wait to see what you share with us this week!
This is so awesome! Here I was making my own printables, but this is such a great trick! Thanks!
This is perfect as I’m just starting with my new Happy Planner next week as well and I had created a Summer planning sheet for me and the kids but hadn’t thought to resize it yet.
This has rocked my planning world. I have actually used this for other things that I print out as well. Yay! Thanks so much for this
By any chance do you know what to scale the PDF if its an personal or A5 size?
Hi Melissa, unfortunately the dimensions don’t work out very well for resizing to those sizes.
Awesome, thank you!
Is this the right size for the student happy planner?
Do you know the % for the Mini Happy Planner
What I have found is that for the horizontal pages (which came with my mini HP) you shrink it to 67%. If you have (made or purchased, or perhaps an expansion pack (which I do not have to compare)) a vertical mini HP (such as this one: https://www.etsy.com/listing/491814061/mini-happy-planner-inserts-wo2p-instant?ga_order=most_relevant&ga_search_type=all&ga_view_type=gallery&ga_search_query=mini%20happy%20planner&ref=sr_gallery_7 ) you’ll print them at 83%)
I hope this is helpful and that you find the same dimensions.
Angela
Wow thanks so much I have been looking for the “magic numbers ” for the mini HP
This was perfect! thank you so much! I was able to perfectly print my journal pages for my happy planner! Lots of gratitude!
I fooled around with this all day today and finally figured it out. The free files I’ve been saving are jpg’s. I converted them to pdf’s through Photoshop and they all printed in the center. Through Photoshop I can select a custom size of 9.25×7 and they print in the center. It doesn’t allow me to print duplex, so I have to manually reinsert the paper to print on the other side. An extra step that’s a hassle, but it works. I’m still so happy I found your blog. You have some awesome stuff and I thank you to the moon and back.